

How to Verify Custom Sign Quality Before You Accept Delivery
Last Updated: November 4, 2026
Quick Summary
Verify custom sign quality by checking the delivered piece against written acceptance criteria agreed before you order, including size within 1/8 inch of spec, lettering that matches the approved proof, and color judged in daylight. Inspect the first part before the full run, document everything with photos at delivery, and withhold final payment until discrepancies are resolved in writing.
- First-part inspection means the shop builds one unit for your approval before running the rest.
- Agree on measurable tolerances in writing, such as overall size within 1/8 inch of spec.
- Confirm screws, anchors, or brackets are in the box, since many signs ship without hanging hardware.
- For signs over 10 pounds, confirm anchors are rated for the weight plus a safety margin.
- Do not approve final payment until discrepancies are resolved or a written remedy is in place.
Table of Contents
- Why Custom Sign Quality Needs Its Own Inspection Process
- Your Custom Sign Quality Checklist: What to Inspect and When
- How to Evaluate Custom Sign Materials Before Production
- Custom Sign Manufacturer Questions to Ask Before You Order
- Checking Design Proofs, Dimensions, and Color Consistency
- Inspecting Finishes, Surface Quality, and Durability
- Sign Installation and Mounting Hardware: The Final Quality Check
- Common Defects, Warranty Terms, and Expected Service Life
- Frequently Asked Questions
Why Custom Sign Quality Needs Its Own Inspection Process
A custom sign is a physical product built to a proof, not a photo. That gap between what you approve on screen and what arrives at your door is where most disappointment starts.
A custom sign is only as good as the process behind it.
Most defects are catchable before you accept delivery. You need a checklist, a tape measure, and a few minutes of honest looking.
Your Custom Sign Quality Checklist: What to Inspect and When
A custom sign quality checklist is a written list of checks you run at three points: before production, at delivery, and after installation. Each stage catches different problems, so skipping one leaves a gap.
- Confirm material type and thickness against the order
- Approve the design proof in writing
- Check spelling, dates, and dimensions on the proof
First-Part Inspection: Catching Problems Before the Full Run
First-part inspection means the shop builds one unit and shows it to you before running the rest. It is the single best way to stop a mistake from multiplying across an entire order.
Ask for it on any order with more than a handful of pieces.
What to look for on that first piece:
- Does the lettering match the approved proof?
- Is the material the grade you paid for?
- Do the edges look clean, or rough and chipped?
If the first part passes, the rest usually follows. If it fails, you fix one piece instead of fifty.
Acceptance Criteria and Measurable Tolerances
Acceptance criteria are the specific standards a sign must meet for you to accept it. Without them, "looks good" becomes the test, and that is a fight waiting to happen.
Write your criteria down before you order. Keep them simple and measurable:
| Check | Standard to Agree On | How to Test |
|---|---|---|
| Overall size | Within 1/8 inch of spec | Tape measure, both dimensions |
| Lettering | Matches approved proof exactly | Side-by-side comparison |
| Color | Matches approved swatch | View in daylight, not shop light |
| Edges | Smooth, no chips or burrs | Run a finger along the edge |
| Mounting holes | Aligned and level | Measure from the top edge |
| Finish | Even coat, no runs or bare spots | Tilt toward the light |
Agree on these numbers in writing. A shop that balks at clear tolerances is telling you something.
How to Evaluate Custom Sign Materials Before Production
Materials decide how a sign ages. The right custom sign materials hold their color, resist moisture, and stay flat for years; the wrong ones fade, warp, or peel within a season.
Ask what the sign is actually made of, then check the answer against where the sign will live.
For a closer look at picking the right stock for your project, our guide on how to choose custom sign material breaks down the trade-offs.
Material Verification by Sign Type
Different signs need different checks. A metal porch sign and a wooden nursery name sign fail in completely different ways. Use these sign-type-specific criteria before production begins.
Documentation to Request Before Production
A shop that stands behind its materials can provide paperwork. Request these items in writing:
- Warranty terms in writing, including what is covered and for how long.
Watch out: If a shop cannot or will not provide basic material specifications, treat that as a signal. Verbal assurances are not a substitute for a data sheet.
Custom Sign Manufacturer Questions to Ask Before You Order
Good custom sign manufacturer questions reveal how a shop handles problems, which tells you more than any sales page.
- What exactly is this sign made from, and how thick is it?
- Can I see examples of past projects similar to mine?
- Will I approve a proof before you produce anything?
- What is your process if the finished sign does not match the proof?
- What does the warranty cover, and for how long?
- Who do I contact if something is wrong?
Listen for straight answers. A shop that says "we will make it right" and names a process is worth more than one that dodges.
When you are ready to see what a finished piece looks like, you can browse our custom name sign as a real example of the craftsmanship we stand behind.

Checking Design Proofs, Dimensions, and Color Consistency
The design proof is your contract in picture form. Once you approve it, you own what it shows. So read it like it costs you money, because it does.
Check these on every proof:
- Spelling: read it backward, letter by letter. Names and dates are where errors hide.
- Dimensions: confirm the size in inches matches what you measured for your space.
- Color: compare the proof color to a physical swatch, not your memory.
Color consistency is the sneaky one. Screens show color differently than ink and paint do.
Get your approval in writing. A quick email saying "proof approved as shown" protects both sides.
Inspecting Finishes, Surface Quality, and Durability
Surface quality is what you feel and see up close. Run your hand along every edge and tilt the sign toward a light.
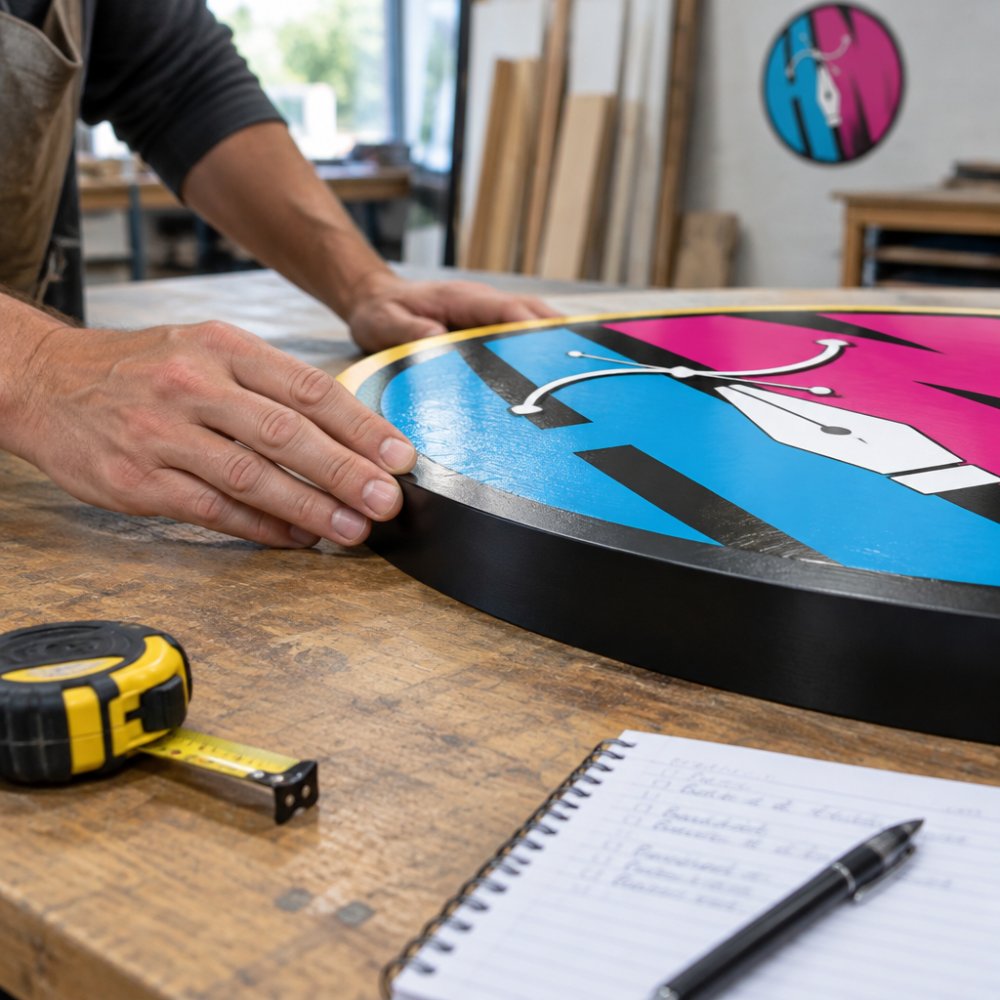
- Runs, drips, or thick spots in the coating
- Bare patches where the finish did not cover
- Rough or chipped edges
Durability comes down to how the finish handles weather and wear. You can see how a weather-ready finish looks on a real product like our weather resistant deck rules sign.

A finish that looks good on day one but fades by summer is not good quality. Ask what protects it.
Sign Installation and Mounting Hardware: The Final Quality Check
Sign installation and mounting hardware is where a great sign can still go wrong. A perfect piece hung with the wrong screws or at the wrong height looks off, and it can fall.
Pre-Installation Hardware Verification
Before anyone drills a hole, confirm the hardware matches the sign and the mounting surface. Use this checklist:
- Mounting points: Measure the distance between pre-drilled holes on the sign and compare to your wall or post layout. Tolerance: within 1/8 inch.
- Hardware included: Confirm screws, anchors, standoffs, or brackets are in the box. Many signs ship without hanging hardware.
- Fastener compatibility: Wood, brick, drywall, and metal each require different anchors. A #8 wood screw will not hold in drywall; a masonry anchor will not grip a hollow door.
Watch out: If the sign arrives with pre-drilled holes that do not align with your measured layout, do not drill new holes yourself before contacting the shop. Photograph the mismatch and contact the shop before installation.
Installation Acceptance Criteria
Agree on these measurable standards before installation begins:
| Check | Standard to Agree On | How to Test |
|---|---|---|
| Level | Within 1/8 inch across the full width | 24-inch spirit level |
| Height | Center of sign at agreed height from floor or ground | Tape measure, both ends |
| Plumb | Vertical edges within 1/8 inch | Level against side edge |
| Fastener engagement | All screws fully seated, no stripping | Visual and hand check |
| Surface contact | No gaps between sign and mounting surface | Feel with finger or use a feeler gauge |
Post-Installation Testing and Documentation
After the sign is mounted, run these checks before approving final payment:
- Visibility and legibility: Step back to the distance from which people will actually view the sign. For a yard sign, that may be 20 feet; for a storefront, 50 feet or more. Check that lettering is sharp and contrast holds.
- Stability: Gently push the sign at its corners. There should be no wobble, flex, or movement. A sign that shifts under light pressure will loosen over time.
- Hardware security: Confirm every fastener is tight and flush. Run a finger along exposed edges to check for burrs or sharp points.
- Lighting (if applicable): For illuminated signs, verify even brightness across the face, no dark spots, and that the power supply is securely mounted and weatherproofed.
- Photograph everything: Take wide shots showing the sign in context and close-ups of each mounting point, edge, and any defect. Note the date and time.
Handling Discrepancies Before Final Payment
If the installed sign does not meet the agreed criteria, document it in writing before paying the balance.
Watch out: Do not approve final payment until discrepancies are resolved or a written remedy is in place. Once you pay, your leverage drops sharply.
For a closer look at how a properly finished and mounted sign should appear, our weather resistant deck rules sign shows the level of finish and hardware integration to expect.
Common Defects, Warranty Terms, and Expected Service Life
Most problems fall into a few buckets. Knowing them helps you spot trouble early and speak up fast.
- Misspelled text or a wrong date
- Color that does not match the approved swatch
- Size off by more than your agreed tolerance
When you find a defect, document it: clear photos in good light, the date, and what you expected versus what arrived.
Warranty terms should cover workmanship and finish for a stated period.
Expected service life depends on material and placement. An indoor wood sign and an outdoor metal sign age on different timelines.
An engraved sign tends to hold detail longer than a vinyl-applied one, which is why we point buyers to real examples like our engraved rustic ladder sign when service life matters.

Frequently Asked Questions
How can you tell if a custom sign is well made?
Start with the edges and surface. A well-made sign has clean, uniform edges with no chipping, bubbling, or uneven paint. Check that lettering is straight and legible, that colors match your approved proof, and that mounting holes are drilled in the right spots. For wood and layered signs, look for tight seams between layers and no gaps at the baseboard. If the sign includes hardware, confirm every piece listed in the spec is in the box. Document anything that looks off with photos before you accept delivery.
Which custom sign materials hold up best outdoors?
When you review custom sign materials, ask for the substrate thickness, coating type, and ink or vinyl spec in writing. That documentation is what you check against at delivery, and it is also what a warranty claim depends on.
What should you check before approving a custom sign proof?
Read every word for spelling, punctuation, and capitalization, then check dimensions and orientation against your order. Confirm colors against a physical reference if color accuracy matters, because screen colors shift. Verify bleed, margins, and where mounting holes will land relative to your design. Ask the manufacturer to state the material and finish on the proof so you have a written record. Once you sign off, that proof becomes the acceptance standard for the finished sign, so treat approval as the last chance to catch errors cheaply.
What questions should you ask a custom sign manufacturer before ordering?
Ask what substrate and thickness they use, how the finish is applied, and what quality control steps happen before shipping. Request examples of past projects similar to yours and ask about turnaround time in writing. Confirm what happens if the sign arrives damaged or off-spec, including whether they redo it and who pays return shipping. Clear answers to custom sign manufacturer questions up front save you from disputes after the sign is on your wall.
Every sign you order is a small bet on a shop's follow-through. The checks above tilt that bet in your favor. At HM Print & Design LLC, we build with CNC 3D carved signs, plasma metal cutting, and hand-finished detail, and we walk every order through a proof before we cut. Get started with HM Print & Design LLC and order a sign you can inspect with confidence.
