

What Is CNC 3D Wood Carving? A Beginner's Guide
Quick Summary
CNC 3D wood carving is the process of using a computer-controlled router to cut a raised, sculpted shape into wood. You design the shape on a computer, and the machine removes wood at many depths to create height, curves, and shading.
- Engraving cuts shallow, mostly even lines, while 3D carving removes wood at varying depths.
- A typical workflow starts with a roughing pass using a 1/4-inch flat end mill.
- Finishing uses a ball-nose bit, such as 1/8-inch or 1/16-inch, at 8-12% stepover.
- Basswood and pine suit beginners because they are soft and cut easily.
- Start with a simple design and a test cut before carving the final piece.
Table of Contents
- What Is CNC 3D Wood Carving? A Beginner's Guide
- What CNC 3D Wood Carving Is and How It Differs From Engraving
- How a CNC Router Removes Wood to Create a 3D Shape
- CNC 3D Carving for Beginners: Hardware and Software You Need
- Choosing the Best Wood for 3D CNC Carving
- Step-by-Step Workflow: From 3D Design to Finished Carving
- CNC Wood Carving Machine Price Ranges and Realistic Costs
- Starting Your First CNC Carving Project
- Frequently Asked Questions
What Is CNC 3D Wood Carving? A Beginner's Guide
Last Updated: November 17, 2026
CNC 3D wood carving is a way to cut a detailed, raised, three-dimensional shape into a piece of wood using a computer-controlled router. You design the shape on a computer, and a machine carves it out of the wood layer by layer. This guide walks through the basics from the ground up.
What CNC 3D Wood Carving Is and How It Differs From Engraving
CNC 3D wood carving is the process of using a computer-controlled router to remove wood and leave behind a sculpted, raised surface. The "CNC" stands for computer numerical control. The machine follows a set of instructions, called G-code, that tells the cutting tool exactly where to move.
Engraving and 3D carving are not the same thing. Engraving cuts lines or shapes into the surface at a shallow, mostly even depth. Think of a name or a monogram on a board. 3D carving removes wood at many different depths, so the result has height, curves, and shading.
Here is a simple way to tell them apart:
- Engraving: Flat or nearly flat cuts, shallow depth, mostly for text and outlines
- 2D routing: Cutting out a flat shape, like a sign outline or a cutting board edge
- 3D carving: Sculpted surface with depth changes, like a relief of a face, a floral pattern, or a raised logo
Many shops sell all three. A carved sign often uses engraving for the lettering and 3D carving for the background design.
How a CNC Router Removes Wood to Create a 3D Shape
A CNC router works like a very precise, very patient hand with a power tool. A spinning cutting bit moves across the wood along paths the software plans out. Each pass removes a small amount of material.
The process usually runs in stages:
- Roughing pass: A larger bit removes most of the waste wood quickly.
- Finishing pass: A smaller, rounded bit follows the final shape and smooths the surface.
- Detail pass: A fine bit cuts small features like leaves, letters, or fine lines.
The router goes deeper where the design is low and stays higher where the design is raised. Over many passes, the flat block becomes a shaped surface.
Speed and depth matter. Cutting too fast or too deep can tear the grain or break a bit. Most beginners learn this by carving test pieces first.
CNC 3D Carving for Beginners: Hardware and Software You Need
You need four main things to get started:
Hardware
- A CNC router with enough bed size for your projects
- A spindle with variable speed control
- Cutting bits, including roughing and finishing bits
- A dust collection system and eye and ear protection
- A stable work table and clamps or a vacuum hold-down
Software
- CAD software to design or edit the 3D model
- CAM software to turn the model into toolpaths the machine can follow
- Control software to send the G-code to the router
Design files
- A 3D model file, often in STL or a similar format
- Vector art or text files for lettering and engraved details
Beginners often start with a small router and simple software. Get comfortable with the full chain before you invest in a bigger machine.
Choosing the Best Wood for 3D CNC Carving
The wood you pick affects how easy the carving is and how the finished piece looks. Softer woods carve quickly but can fuzz or tear. Harder woods hold fine detail but wear down bits faster.
Popular choices include:
- Basswood: Soft, even grain, and a favorite for detailed carvings
- Pine: Affordable and easy to cut, but the knots can cause problems
- Maple: Hard and smooth, good for clean detail and cutting boards
- Cherry and walnut: Rich color and a nice finish, but more expensive
Grain direction matters too. Carving across the grain can leave rough edges, so many carvers plan their toolpaths with the grain in mind. Secure the board firmly so it does not shift during cutting.
Watch out: A board with cracks or heavy knots can split mid-carve. Inspect your stock before you start.
Step-by-Step Workflow: From 3D Design to Finished Carving
A reproducible 3D carving job follows the same chain regardless of which CAD/CAM package you use. The steps below are software-neutral; the numbers are starting points that most practitioners adjust for their machine and wood.
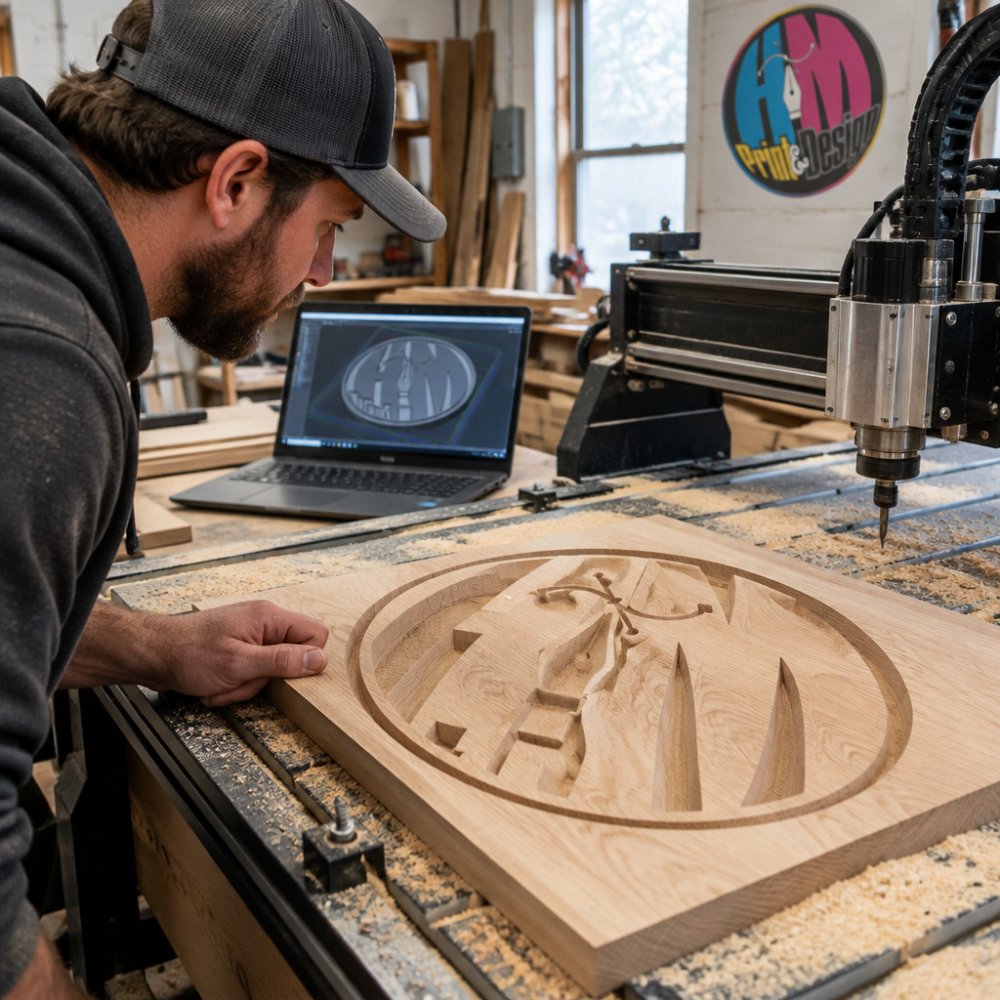
1. Design or import the model. Create the shape in CAD or import an STL or OBJ file. Check that the model is watertight (no holes or flipped faces), because a non-manifold mesh produces gouges and phantom cuts in the toolpath.
2. Set up the stock and origin. In CAM, define the block dimensions to match your actual board, not the model bounding box. Set the XY origin at a corner you can physically touch off, and set Z zero at the top of the stock.
3. Choose the roughing toolpath. A typical roughing bit is a 1/4-inch flat end mill. Set stepover to roughly 40-50 percent of bit diameter and stepdown to about half the bit diameter in softwood, less in hardwood.
4. Choose the finishing toolpath. Switch to a ball-nose bit, commonly 1/8 inch for medium detail or 1/16 inch for fine relief. Set stepover to 8-12 percent of bit diameter; tighter stepover improves surface finish but increases run time roughly in proportion.
5. Set feeds and speeds. Feed rate and spindle speed depend on bit diameter, wood species, and machine rigidity.
6. Prepare and secure the wood. Flatten the top surface first, either with a surfacing bit or a planer, so Z zero is consistent across the board. Clamp or vacuum-hold the stock so it cannot lift.
7. Run an air cut or test carve. Run the file with Z raised above the stock to watch the path, or carve a scrap of the same species. Confirm the bit clears clamps and that the roughing pass leaves the expected stock.
8. Carve roughing, then finishing. Run the roughing pass, vacuum the chips, then run the finishing pass without moving the workpiece or re-zeroing. If you must re-zero between passes, touch off on the same reference surface.
9. Sand and finish. Remove fuzz with 150- to 220-grit, working with the grain on flat areas and using a soft backing on curves so you do not round over crisp edges. Raise the grain with a damp cloth, sand again, then apply stain, paint, or sealer.
Watch out: Changing the model or stock dimensions after generating toolpaths invalidates the file, so regenerate and re-preview every toolpath after any edit.
The workflow breaks into nine steps, and the table below summarises the main tool and setting choices for the roughing and finishing passes.
| Pass | Bit and setting | Starting point |
|---|---|---|
| Roughing | 1/4-inch flat end mill | Stepover 40-50% of bit diameter |
| Roughing | Stepdown | About half the bit diameter in softwood |
| Roughing | Stock left for finishing | 0.02-0.04 inch |
| Finishing | 1/8-inch or 1/16-inch ball nose | Stepover 8-12% of bit diameter |
| Feeds and speeds | 1/4-inch bit, softwood | 100-150 in/min at 12,000-16,000 RPM |
CNC Wood Carving Machine Price Ranges and Realistic Costs
Here is a breakdown of what the equipment and operation typically cost, so you can judge whether a project makes sense before you cut.
Machine price bands. CNC router prices vary widely with work area, frame rigidity, spindle type, and controller. Confirm current pricing with a dealer before buying.
Tooling and consumables. A usable starter set of end mills and ball-nose bits is a modest additional cost. Bits wear out: a small ball nose cutting hardwood may last a few dozen hours before it dulls and starts burning instead of cutting. Budget for replacement bits as a per-project cost, not a one-time purchase.
Software. Some CAM packages are free or bundled with the machine; others carry licensing or subscription fees. Factor the software into the total before comparing machine prices.
Dust collection and safety. A shop vacuum and dust separator are a practical minimum; a dedicated dust collector costs more but handles long runs better. Eye and ear protection and a stable table are non-negotiable.
Time is the hidden cost. A simple 3D relief a few inches across may finish in under an hour. A detailed 12-inch plaque with a 1/16-inch ball nose at tight stepover can run several hours of machine time, plus design, setup, sanding, and finishing. Machine time ties up the router, so price projects by total hours, not just wood and bits.
Wood and material. Basswood and pine are inexpensive; maple, cherry, and walnut cost more and cut slower. A cracked or knotty board that fails mid-carve wastes both material and machine time, so inspect stock before cutting.
Finished-piece pricing. Custom carved signs and decor are priced by design complexity, size, wood species, and finish. A simple engraved sign costs far less than a large, detailed 3D carving. As a reference point, HM Print & Design LLC lists a Custom Designed engraved or 3D carved sign at $15.30 in its shop.
Decide your goal first. Carving for fun, selling pieces, and handling custom orders each justify a different machine class. A hobbyist rarely needs a production router; a shop taking custom orders needs rigidity, dust control, and enough bed size to avoid tiling large designs. Match the machine to the work, then price the work against real time and tooling costs.
Starting Your First CNC Carving Project
Start small. A simple name sign or a single-layer relief teaches you the basics without wasting expensive wood.
- Pick a design with few details
- Use a soft wood like basswood or pine
- Run a test cut before the final piece
- Keep notes on speeds, depths, and bit choices
- Save your settings for future projects
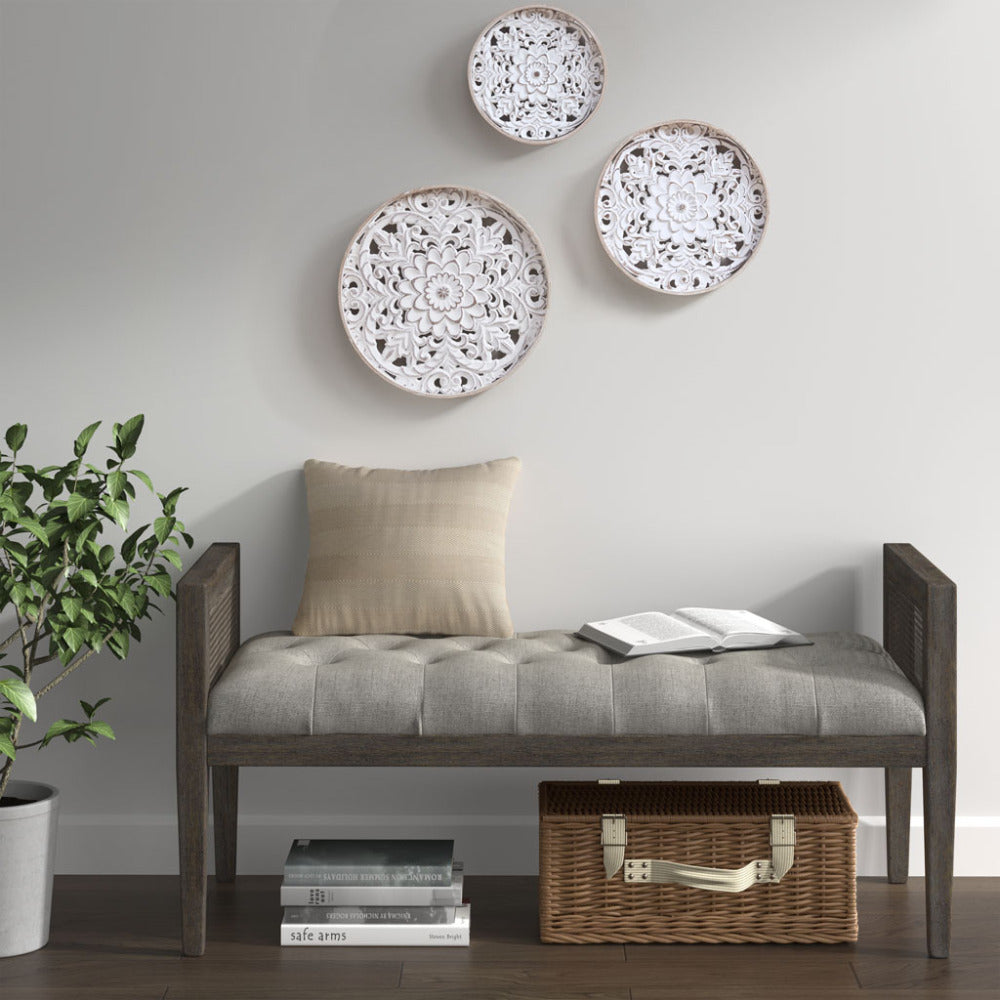
If you want to skip the learning curve, you can browse our carved and engraved wood signs. A reader who is ready to go further can also look at the Distressed White Floral Wood Wall Art - Set of 3 Round Carved Medallions.

Frequently Asked Questions
How much does a CNC wood carving machine cost?
A CNC wood carving machine ranges widely in price depending on bed size, spindle power and build quality. Entry-level desktop routers suit hobbyists working on small signs, while larger machines capable of carving full-width furniture panels cost considerably more. Consider the largest piece you plan to carve, since bed size drives most of the price. Factor in software, cutting bits and a dust collection setup, which add to the total. Pricing varies by manufacturer, so compare current listings from United States retailers before buying.
Is CNC 3D carving difficult to learn?
The basic idea is manageable for most beginners, but the process has several steps that take practice. You need to understand how design software converts a model into toolpaths, how to secure the workpiece, and how to choose bits for roughing and finishing passes. Most people become comfortable after a few practice boards using inexpensive softwood. Start with simple relief designs before attempting deep, detailed 3D work, and keep notes on your feed rates and depth settings so you can repeat results.
What is the best type of wood for 3D CNC carving?
Wood species with a fine, consistent grain carve most cleanly. Basswood and poplar are popular with beginners because they are soft, stable and affordable, producing smooth surfaces with fewer tear-outs. Hardwoods such as maple or cherry hold fine detail well but require slower feed rates and sharper bits. Orient the grain so that the carving direction runs across it where possible, and secure the board firmly so vibration does not ruin the surface finish.
What software do you need for CNC 3D carving?
You need two types of software: CAD programs to create or edit the 3D model, and CAM programs to convert that model into toolpaths and G-code the machine can read. Some packages combine both functions. Many CAM tools let you set roughing and finishing passes, stepover and cutting depth, so the machine removes material efficiently. Choose software compatible with your controller, and test your toolpaths on scrap wood before cutting the final piece.
